

iOS Devices
Yapılış Tarihi | 24 July 2024, Wednesday

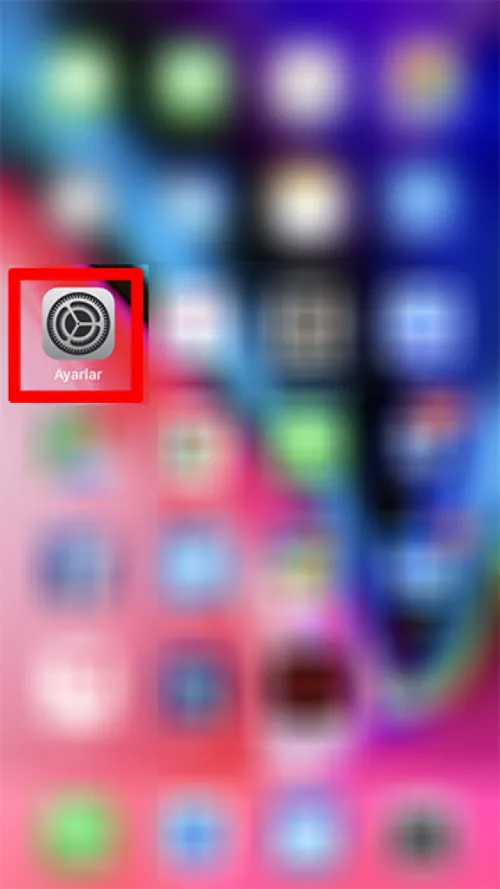
We tap on the "Ayarlar" icon located on the main screen.
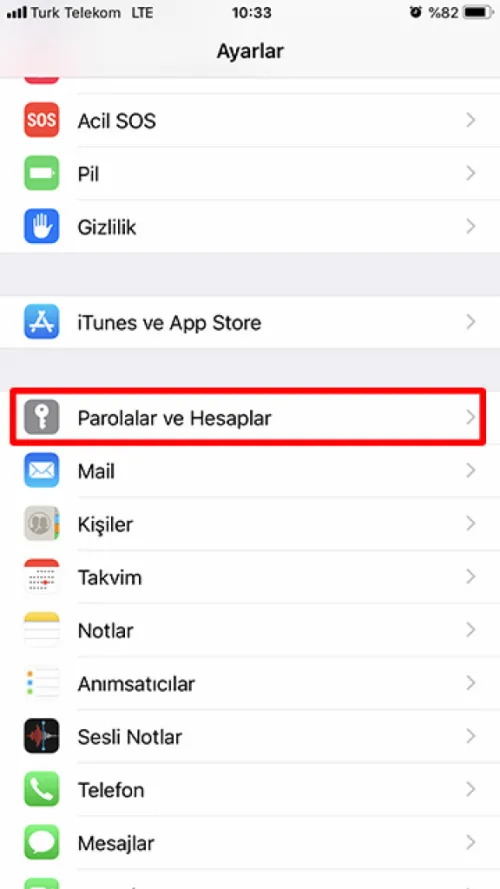
From the "Settings" menu, we tap on the "Passwords and Accounts" menu.
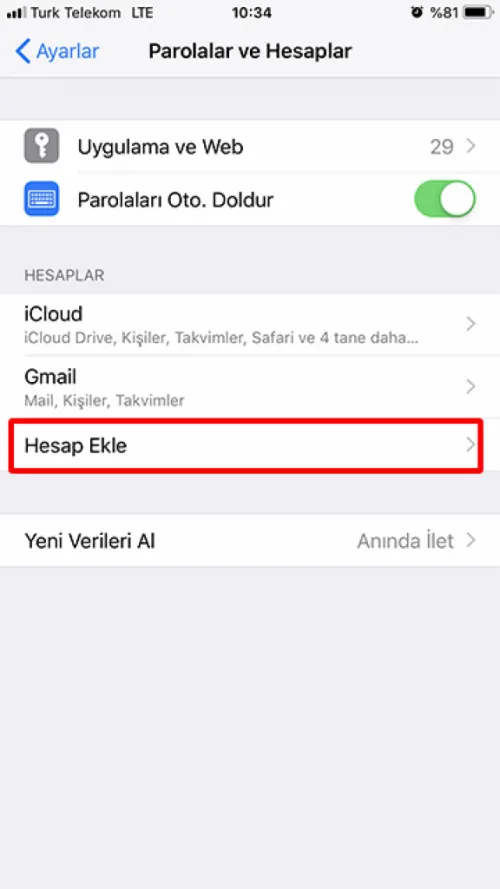
"Passwords and Accounts" menu, we tap on the "Add Account" menu located underneath.
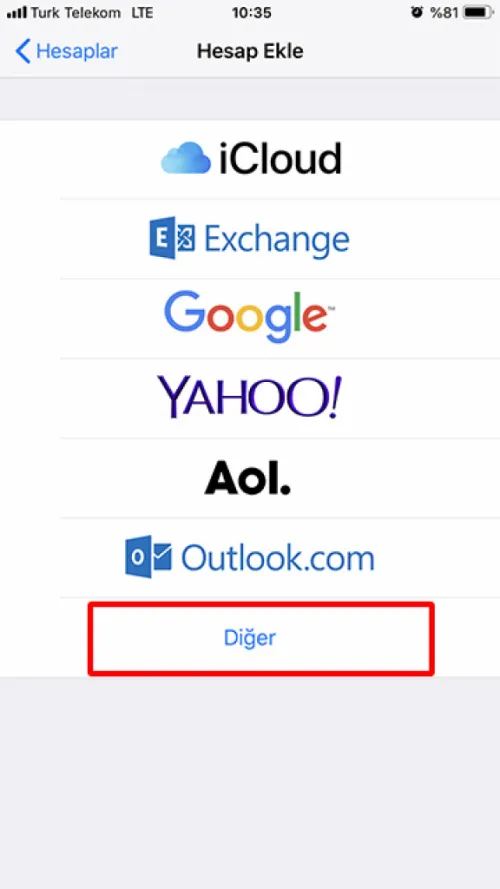
"Add Account" menu'sünün en altındaki "Other" menu'süne dokunuyoruz.
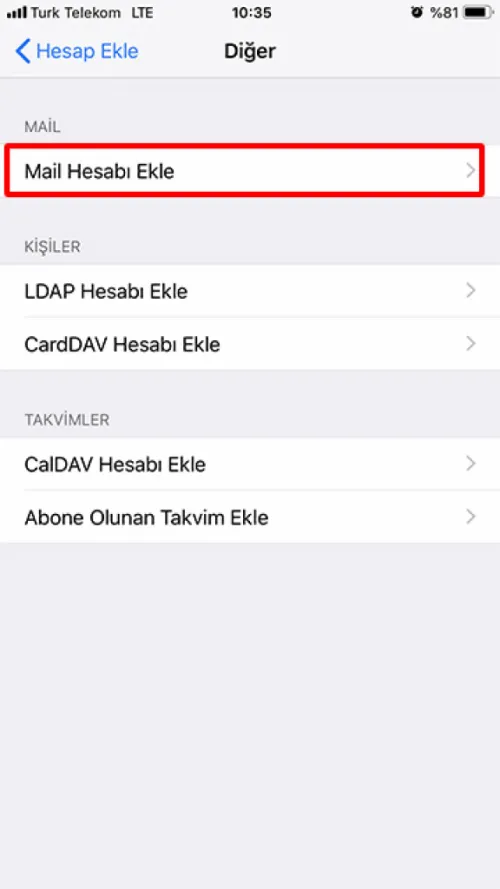
"Other" menu from "Mail" section under located "Add Mail Account" we tap.
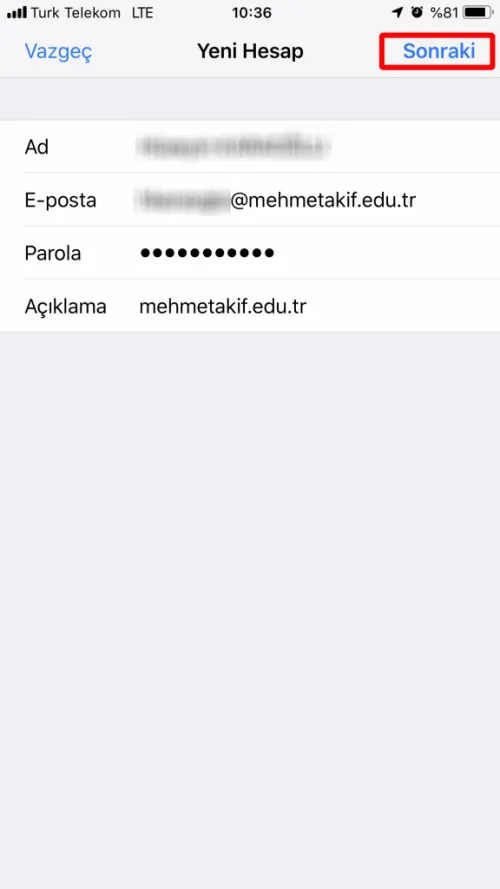
In the opened "Yeni Hesap" section, we fill in the Ad, E-posta, Parola, Açıklama parts. If we have filled in the information correctly and completely, we tap the "Sonraki" button.
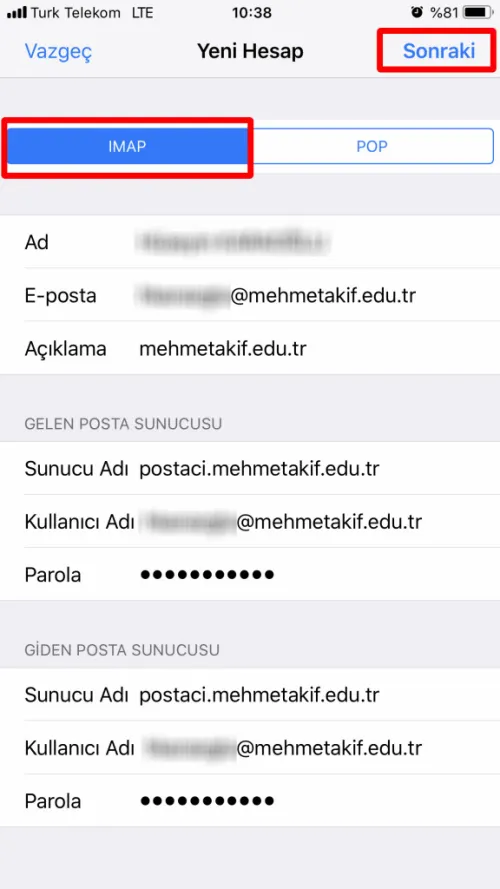
On the page that appears, we tap on the "IMAP" tab.
Then, we enter the Server Name, Username, Password information under the "Incoming Mail Server" section. The Server Name field should be filled as postaci.mehmetakif.edu.tr.
We also fill in the "Outgoing Mail Server" section on the same screen.
** The “Verification” process to be done after the account settings are completed may take some time.
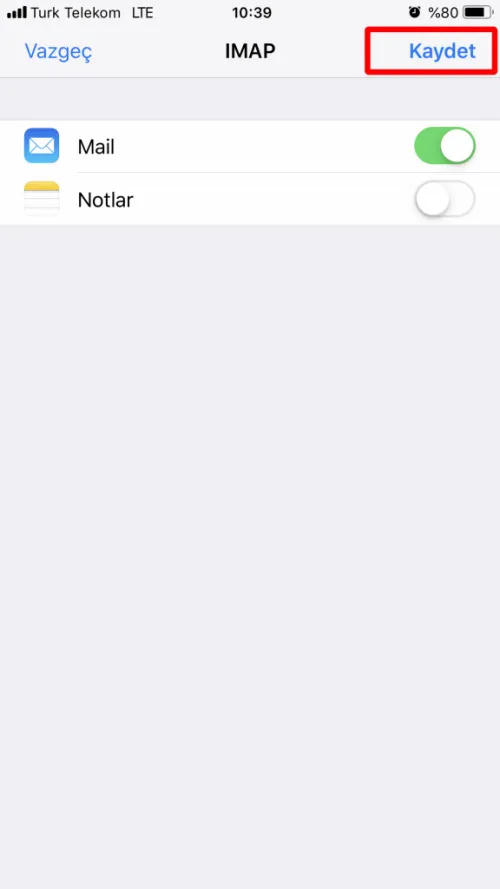
On the opened screen, we tap the “Kaydet” button.
When you see the "Hesap Eklendi" statement, your process is complete.